Grandma’s Granola Bars

Everyone loves a good granola bar right? i mean whats not to love- crunchy, chewy, sweet yet salty, fruity, nutty, and chocolaty all at once?! Yes, please….

I created these granola bars for Bobby’s mom, aka one of Lucas’ Grandmas. She loves a granola bar and would often buy the ever so popular ones in the snack section at the store. After a recent doctors visit, we brought it to her attention she was doing a disservice to her body with her favorite afternoon indulgence. Did you know that some of your favorite granola bars contain upwards of 6, yes SIX, different kinds of sugar including both regular and high fructose corn syrup she was devastated. Grandma’s granola bars are only sweetened with honey. They do include things like dried fruit, unsweetened coconut flake, and dark chocolate chips to help satisfy your sweet tooth. These bars are best kept in the refrigerator, and actually freeze well too.

While we didn’t keep every ingredient for these on hand before, most are basic pantry staples. These are super easy and quick to whip up. Don’t have or like an ingredient? Don’t worry swap it for something else in the same measurements. If you make these we would love to know how you like them!

Ingredients:

2 cups old fashioned oats

2 cups puffed rice cereal

1 stick butter

1/3 cup peanut butter

1/2 cup honey

1/2 cup each walnuts, pecans, quinoa (uncooked), flax seeds

1 cup each unsweetened coconut flakes & dried fruit

Just enough dark chocolate chips to decorate the top

Method:

-Melt butter & peanut butter together until just smooth and combined. do not over heat or peanut butter will seize up. Set aside

-In a large mixing bowl combine all dry ingredients, EXCEPT chocolate chips

-Add honey to butter/peanut butter mixture and stir well before adding to bowl of dry ingredients

-Once dry & wet ingredients are thoroughly combined spread mixture out into a parchment lined casserole dish

-Using a measuring cup, mason jar, or other similar item firmly press the mixture into the casserole dish

-Decorate the top with your dark chocolate chips and press down again

Refrigerate for 30 minutes, and give your granola bars one more firm pressing to help them stick together.

Refrigerate for another 30 minutes and enjoy!

Mineral Rich Southern Style Grits

Either you LOVE grits or you have probably never had them, here in ‘ the South’ they are a staple & not just for breakfast.

What are grits? While the term ‘grits’ originally referred to any coarsely ground grain eaten by the indigenous people, today grits are made from stone ground white corn. Southern style grits are not to be confused with polenta, the popular Italian version using yellow cornmeal. Although both are cooked the same, they have different textures due to the color/variety & size of the ground grain.

Now, every house will prepare their grits just a bit different, this is how we like ours…. and no there is no sugar in them, i don’t know who started that but they certainly weren’t southern- this ain’t oatmeal folks

The recipe is simple, in fact its more of a ratio than a recipe!

1 part grits : 2 parts water : 2 parts milk

Of course there are other ingredients like butter, pepper, and the most important- Mineral filled natural salt. We use a pink salt but have also used a red salt with great success. You could use a sea salt if that’s what you have or prefer, we just prefer to limit our sea salt usage for personal reasons.

Traditionally served as a side dish, the recipe below is either 4 servings or 2 servings if your eating it as your meal (think shrimp ‘n grits)

Mineral Rich Southern Style Grits

Ingredients

1 cup grits

2 cups whole milk

2 cups water

1/2 cup butter (1 stick)

1 teaspoon mineral rich natural salt

fresh cracked pepper to taste ( we like a LOT)

Bring water, milk, salt, & pepper to a simmer over a medium heat. Stir in grits and reduce heat to medium low. Stir frequently to help encourage starch to come out of the grits and make the mixture extra creamy. Continue cooking and stirring until grits are thick enough to leave a line of the pot showing when you run your spoon/spatula through it (see photo above, third photo from left). remove from heat and stir in butter and any additional salt/pepper

Leave a comment to let us know how you like our family’s favorite mineral rich grits!

Spicy Garlic Dill Traditional Pickles

Have you looked at the ingredients on a jar of pickles recently?

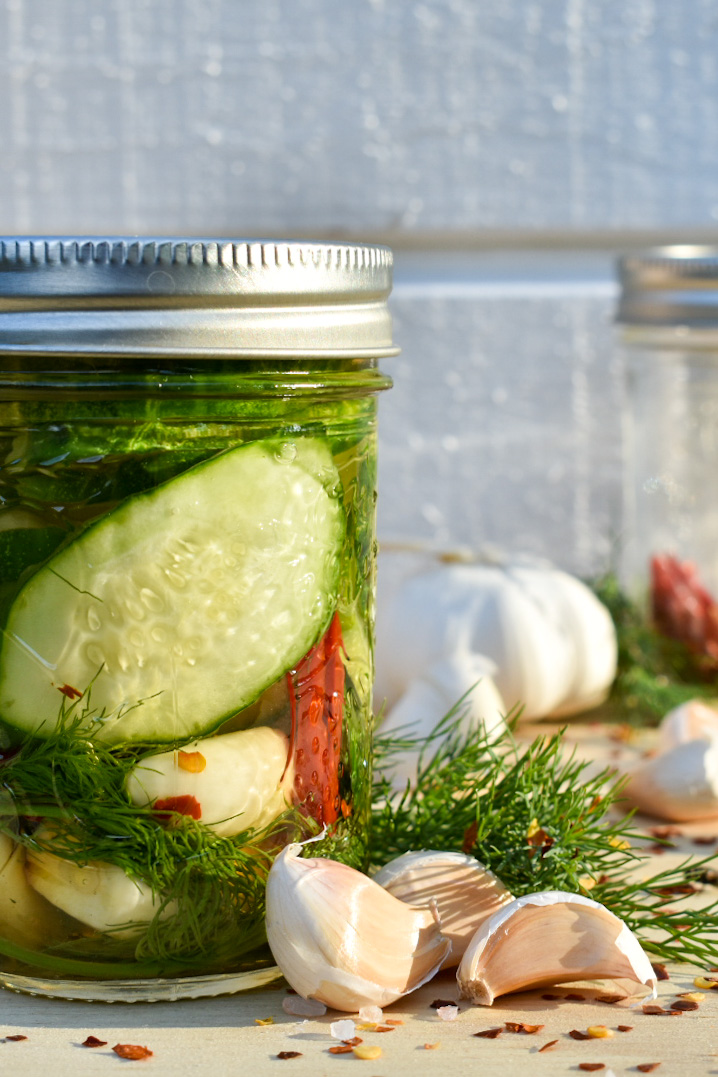
Well, I don’t know about you, but I prefer things I can pronounce & gut healthy probiotics in my pickles! I call these traditional pickles because they are fermented, not pickled with a vinegar & sugar. Other than ALL the benefits that fermented food have, these pickles are more adjustable. The level of “pickle” is determined by how long you let them actively ferment. Depending on the temperature in your home 9 and your preferences) these pickles can take anywhere from 1-4 weeks to fully ferment, so start tasting them at about a week in!

This is more of a method with a ratio for the brine provided. Feel free to try these in as big or little of a jar or crock that you would like & let us know in the comments how you liked them!

Fermented Blueberries

PRINT RECIPE

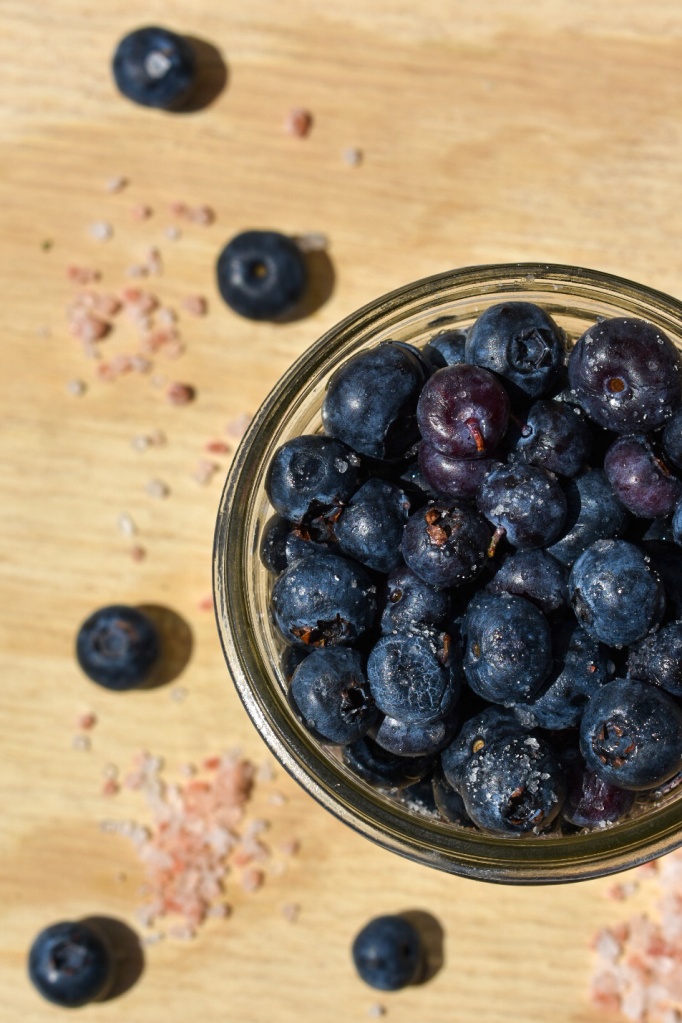
Blueberries are reputed to be super good for us. It’s currently blueberry season here in North Florida so we have an abundance of fresh blueberries at our disposal. While testing ways to use & preserve the pounds upon pounds of these delicious little berries we find ourselves with, I thought about fermenting them.

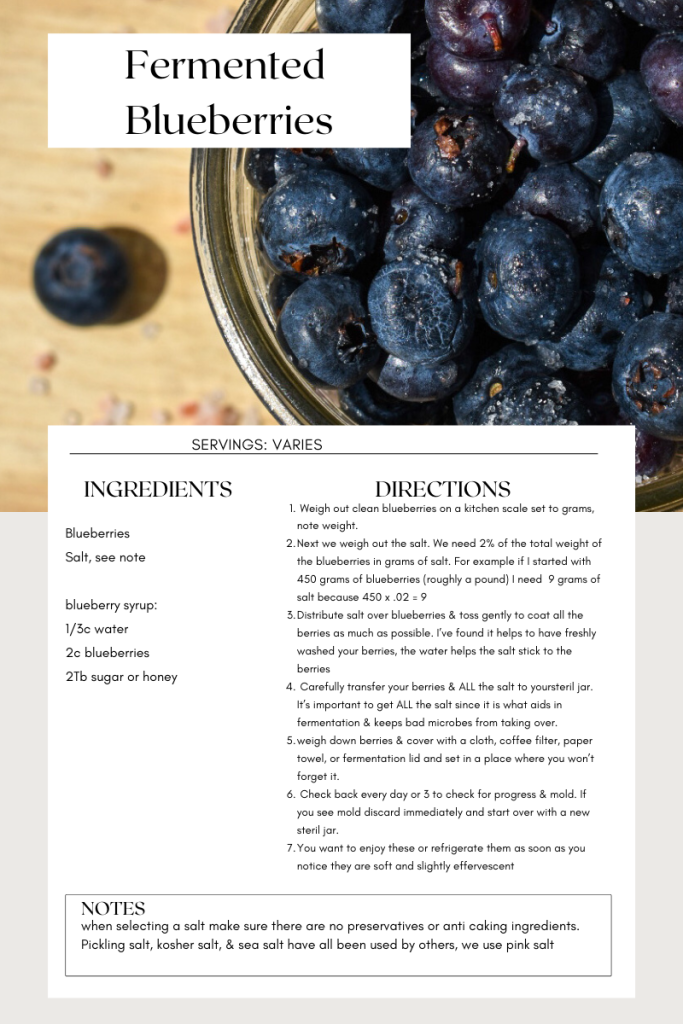
After doing a bit of research I decided using salt to lacto ferment about a pint (310 grams to be exact) of blueberries we had picked 4 days prior. While not sure how salty blueberries would turn out over time, NOW would be the time to try it since we have a good 4 pounds left and plenty to come since season has just begun.

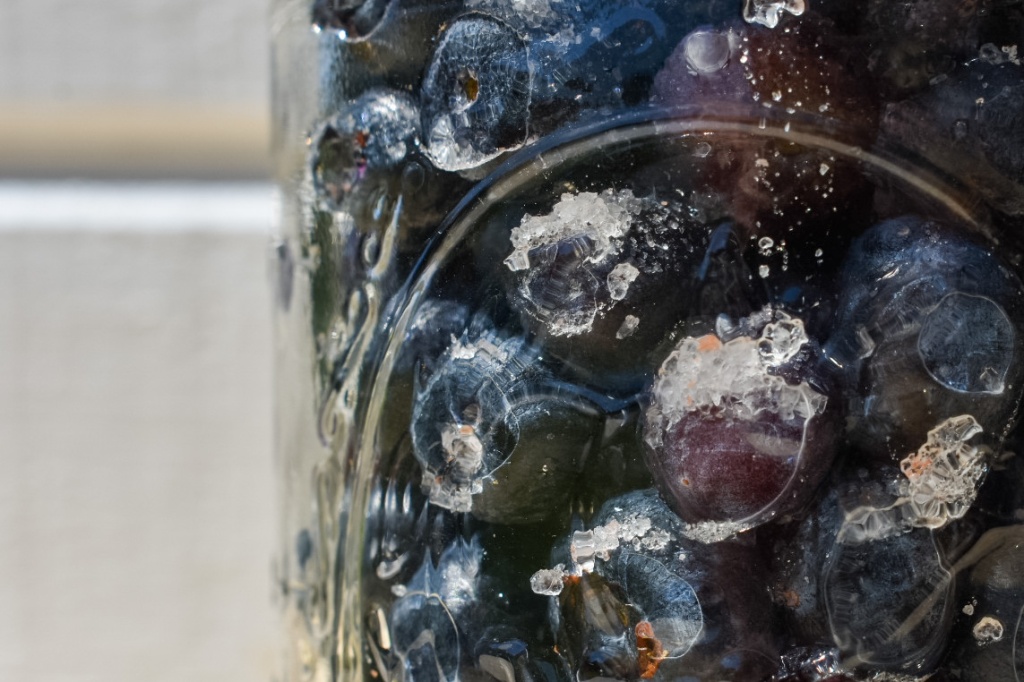
There’s tons of info out there on these little effervescent flavor bombs. We’re hardly the first to think of this. In fact, the science has shown fermented blueberries may have some anti-inflammatory & immunomodulatory properties (PMID: 33946303). They also might have some antihypertensive properties (PMID: 25194632).

This is a pretty straightforward recipe. The most important things you will need are some basic math skills or a calculator, a kitchen scale & clean, additive free salt (see the note in the recipe). 

While we are still trying to figure out our favorite way of enjoying these blueberries , we can say coated in honey over brie & muddled in a cocktail/mocktail are both excellent. Please leave a comment and let us know your favorite way to use these once you try this.

Pancake Mix-Up Muffins

Let’s be honest, it’s not just homesteaders that lead super busy lives. Something else to be honest about, sometimes everyone needs a shortcut in the kitchen to make ‘those’ days just a bit easier.

            I don’t know about you, but I am that person who has been known to whip up a from scratch pie crust to make “pop tarts” at 9pm… but I’d be lying if I said we make EVERYTHING from scratch. In fact, one of my biggest kitchen hacks involves pancake mix! I know I could make my own in large batches. But y’all, ya girl is tired, I’ve been there & done that, and currently it’s not a part of our daily routine. I buy pancake mix in bulk because it’s just so dang versatile.

            This time of year, blueberry season, we like to make muffins. Now muffins aren’t necessarily difficult to make, but blueberry season is also planting season. To save time & fill bellies, we like to use pancake mix to make muffins just that much easier. Often I’ll measure all the wet ingredients in one cup while Lucas measures out the mix and sugar. I’ve tried this with several different mixes & all have turned out fine. When the batter is all mixed you want it to be thick but not dry. Try to let it sit for at least 15 minutes after mixed for all the flour to absorb the liquid & for it to work its leavening magic.